Photo to Crochet for Beginners: First Pattern Guide
New to photo-to-crochet? This beginner-friendly guide walks you through your first pattern — from choosing a photo to finishing your project.
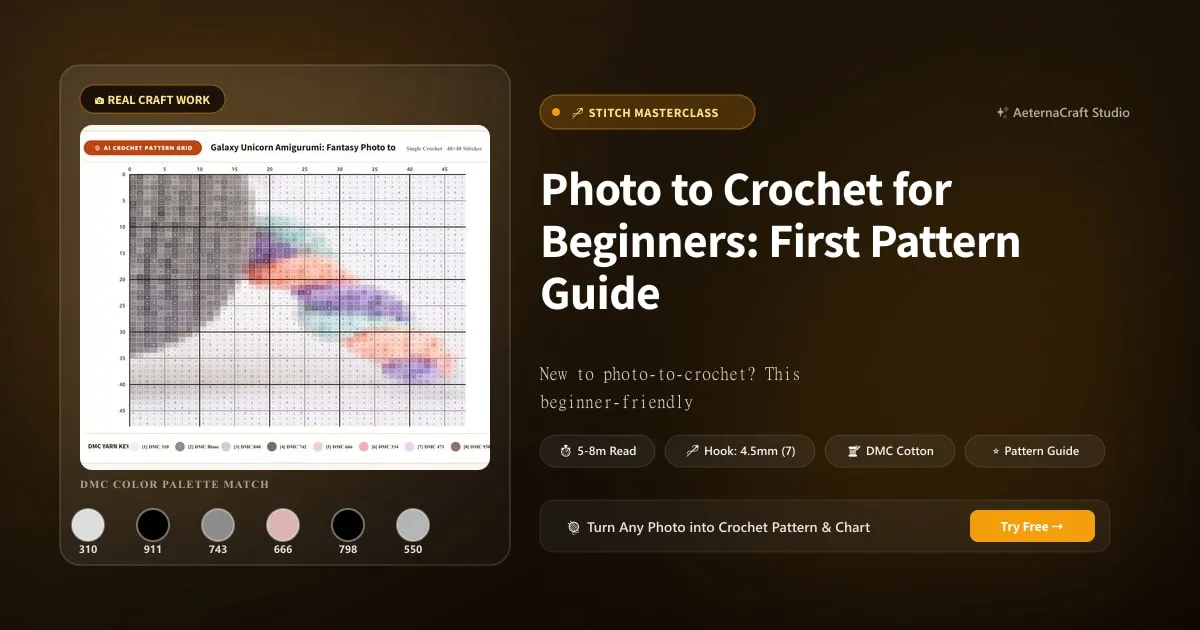
Photo to Crochet for Beginners: Your First Pattern Step by Step
If you’ve never converted a photo into a crochet pattern before, the process might seem intimidating. But with AI-powered tools and the right approach, your first photo-to-crochet project is completely achievable — even if you’ve only been crocheting for a few months.
This guide is designed specifically for beginners. We’ll walk through every step, from choosing your photo to finishing your piece, with no assumptions about prior experience.
What Is Photo-to-Crochet?
Photo-to-crochet is the process of converting a photograph into a stitchable crochet pattern. An AI tool analyses your photo, reduces it to a limited colour palette, and generates a grid where each cell represents one stitch. You then crochet the grid row by row, creating a pixel-art version of your photo in yarn.
The result is a handmade, tactile representation of a cherished image — a pet portrait blanket, a landscape wall hanging, or a personalised gift.
Step 1: Choose Your Photo
For your first project, choose a simple photo with a clear single subject:
Good first-project photos:
- A single flower against a plain background
- A pet’s face, cropped tightly
- A simple landscape (sunset, mountain silhouette)
- A geometric pattern or logo
- A piece of fruit or a coffee cup
Avoid for first projects:
- Group photos (multiple people/pets)
- Complex scenes with busy backgrounds
- Photos with very subtle colour differences
- Full-body shots (too much detail for a small grid)
Step 2: Generate Your Pattern
- Go to AeternaCraft Studio or try our quick browser-based AI Crochet Pattern Generator
- Upload your photo (JPG, PNG, or WebP, up to 10 MB)
- Set your preferences:
- Grid size: 60×60 (recommended for beginners)
- Colour count: 8 (manageable but detailed enough)
- Stitch mode: Single crochet (easier for beginners)
- Click “Generate”
- Download your PDF pattern
Your first pattern is completely free — no signup required.
Step 3: Gather Your Materials
Your pattern PDF includes a colour legend that lists every colour you need. Take this to a yarn store or order online:
Materials checklist:
- Crochet hook (4mm / G-6 for worsted weight yarn)
- 8 colours of worsted weight yarn (50–100g each — the legend tells you exact amounts)
- Scissors
- Tapestry needle (for weaving in ends)
- Stitch markers (for marking row starts)
- Yarn bobbins (for managing multiple colours — or use small pieces of cardboard)
- Digital pattern tracker: open your pattern PDF in our hands-free PDF Pattern & Row Tracker or clean up written notes in our Crochet Pattern Reader
Budget: Approximately $15–$25 for all materials.
Step 4: Prepare Your Workspace
Photo-to-crochet requires managing multiple yarn colours simultaneously. Set up your workspace:
- Print your chart in colour on sturdy paper
- Label your bobbins: Write C1, C2, C3, etc. on each bobbin
- Lay out bobbins in numerical order around your workspace
- Set up good lighting: Natural daylight is best for distinguishing similar colours
- Have a highlighter ready: For marking completed rows on your chart
Step 5: Start Crocheting
Before your first stitch: Crochet a small 4×4 swatch with your main colour to check your gauge. If 4 stitches measure more than 1 inch, your finished piece will be larger than expected. If less than 1 inch, it’ll be smaller. Adjust your hook size if needed.
Row 1:
- Find row 1 in your row-by-row instructions
- The instructions will say something like: “C1 ×20, C2 ×5, C1 ×15, C3 ×20”
- This means: 20 stitches of Colour 1, then 5 stitches of Colour 2, etc.
- Chain 61 (60 stitches + 1 turning chain)
- Single crochet across, changing colours as indicated
Row 2 and beyond:
- Read the chart from the correct direction (right-side rows: right to left; wrong-side rows: left to right)
- Count every stitch — don’t skip this step
- Mark each completed row with your highlighter
Step 6: Managing Colour Changes
Colour changes are the trickiest part for beginners. Here’s the simple method:
- When changing from C1 to C2: On the last stitch of C1, complete the stitch until the final yarn-over, then yarn-over with C2 and pull through. This creates a clean colour change.
- Carry the old colour: Lay the old yarn along the top of the previous row and crochet over it for 3–4 stitches. This secures it without creating a loose end.
- Don’t pull tight: When picking up a carried colour, leave it slightly loose. Tight carries distort the fabric.
Step 7: Dealing with Mistakes
You will make mistakes. That’s okay. Here’s how to handle them:
- Miscounted stitches? Unravel the row and redo it. Counting gets easier with practice.
- Used the wrong colour? If you notice within 1–2 rows, unravel and fix. If it’s been many rows, assess whether it’s visible — small errors in background areas are usually invisible.
- Tension is uneven? Don’t worry — blocking at the end will even out most tension issues. Just keep going.
Step 8: Finishing Your Piece
- Weave in all ends: Use your tapestry needle to weave loose yarn ends into the back of the work. Thread each end through 4–5 stitches in the same colour area.
- Block your piece:
- Soak in lukewarm water for 15 minutes
- Gently squeeze out water (don’t wring!)
- Lay flat on a towel and roll to remove excess moisture
- Pin to a blocking board (or ironing board covered in towels) at the correct dimensions
- Let dry completely (12–24 hours)
- Admire your work: You’ve just completed your first photo-to-crochet project!
What’s Next?
Once you’ve completed your first 60×60 pattern, you’re ready to level up:
- Try a larger grid: Move up to 80×100 for more detail
- Add more colours: Increase to 10–12 for richer patterns
- Try C2C: Corner-to-corner creates a different texture and is excellent for blankets
- Browse the Gallery: See what’s possible at our Gallery — from pet portraits to landscapes to wearable art
- Read our advanced guides: Check out our articles on colour count, grid size, and C2C vs single crochet
Frequently Asked Questions
Can a beginner make a photo-to-crochet pattern?
Absolutely. With AeternaCraft Studio, beginners can create their first photo-to-crochet pattern in minutes. Start with a 60×60 grid, 6–8 colours, and single crochet mode. The generated PDF includes everything you need: colour grid, legend, and row-by-row instructions.
How long does a beginner's first photo-to-crochet project take?
A 60×60 grid with 8 colours typically takes a beginner 10–15 hours to complete. This is roughly 2–3 weeks of evening crocheting. The first few rows are slowest as you learn to manage colour changes; speed increases significantly after row 10.
What do I need to buy for my first photo-to-crochet project?
You need: a crochet hook (4mm for worsted weight), 6–8 colours of worsted weight yarn (50–100g each), scissors, a tapestry needle for weaving ends, and stitch markers. Total cost: approximately $15–$25 for materials.
Related Posts
Photo-to-Crochet Pattern Mistakes: Common Fixes
Avoid the 10 most common photo-to-crochet pattern mistakes. Learn to prevent tension issues, colour confusion, grid miscounts, and finishing errors.
ToolsHow to Read a Crochet Pixel Chart from a Photo Pattern
Learn how to read and follow a crochet pixel chart from a photo. Complete guide to grid notation, colour symbols, and chart-reading tips.
Try Our Free Crochet Tools
Turn Your Photo Into a Crochet Pattern
Upload any photo and our AI generates a pixel-perfect crochet pattern with real yarn color matching in seconds.
Try AeternaCraft Studio Free →Calculate Yarn for Any Resize
Free amigurumi yarn & resizing calculator. Change hook, switch yarn, or scale a whole pattern — instant results with PDF export.
Open the Calculator →