Choosing the Right Grid Size for Photo-to-Crochet Patterns
Grid size determines detail, difficulty, and project time. Learn to choose between 40×40 and 150×150 stitches for your photo-to-crochet pattern.
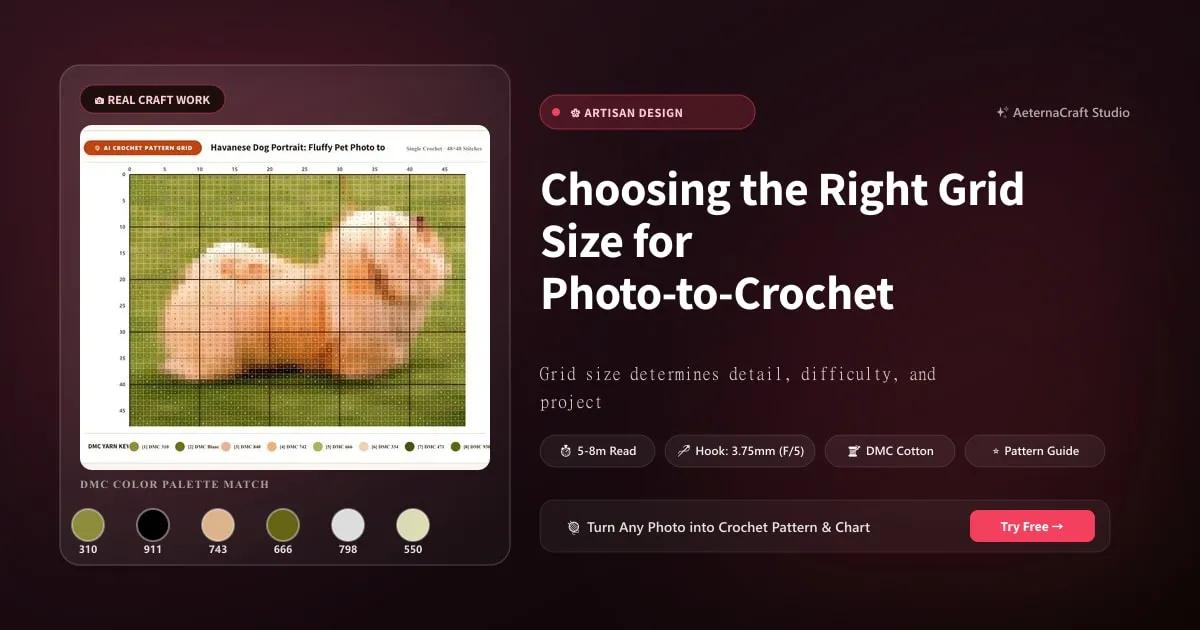
Choosing the Right Grid Size for Photo-to-Crochet Patterns
Grid size is the most consequential decision in photo-to-crochet pattern creation. It determines how much detail your pattern captures, how long the project takes, how much yarn you need, and what the finished size will be. Choose too small, and your pattern is unrecognisable. Choose too large, and you’ll be crocheting for months.
This guide breaks down grid sizes into practical categories with real-world examples.
Understanding Grid Size
In photo-to-crochet, the “grid size” refers to the number of stitches wide × stitches tall in your pattern. Each stitch represents one pixel of the downsampled image. For example:
- A 60×60 grid = 3,600 total stitches
- An 80×100 grid = 8,000 total stitches
- A 120×150 grid = 18,000 total stitches
The more stitches, the more detail — but also more time, yarn, and effort.
Grid Size Categories
Mini: 40×40 (1,600 stitches)
Best for: Ornaments, patches, appliqués, mini wall art
At 40×40, your pattern is highly pixelated — fine details disappear, and only bold shapes and colour blocks are visible. Think of it as pixel art: charming in its simplicity, but not suitable for portraits.
- Time to complete: 3–5 hours
- Yarn needed: 50–100g total
- Finished size (worsted, 4mm hook): ~10×10 inches
- Recommended colour count: 4–6
Small: 60×60 (3,600 stitches)
Best for: Cushion covers, small wall hangings, first photo-to-crochet projects
The 60×60 grid is the recommended starting point for beginners. It’s large enough to show recognisable subjects (a pet’s face, a flower, a simple landscape) while being small enough to complete in a weekend.
- Time to complete: 6–10 hours
- Yarn needed: 150–300g total
- Finished size (worsted, 4mm hook): ~15×15 inches
- Recommended colour count: 6–8
Medium: 80×100 (8,000 stitches)
Best for: Pet portraits, medium blankets, detailed cushion covers
This is the most popular grid size in AeternaCraft Studio. It captures facial features, fur texture, and landscape details with good clarity. Most Gallery case studies use this size range.
- Time to complete: 12–20 hours
- Yarn needed: 400–800g total
- Finished size (worsted, 4mm hook): ~20×25 inches
- Recommended colour count: 10–14
Large: 100×120 (12,000 stitches)
Best for: Detailed portraits, large lap blankets, statement wall art
At this size, you get enough resolution for human portraits with skin tone detail, or complex pet portraits with individual fur strands visible. The trade-off is significant time investment.
- Time to complete: 20–35 hours
- Yarn needed: 800–1,500g total
- Finished size (worsted, 4mm hook): ~25×30 inches
- Recommended colour count: 12–16
XL: 120×150 (18,000 stitches)
Best for: Bed blankets, exhibition pieces, professional commissions
This is the maximum recommended grid size for most crocheters. The detail level approaches photo-realistic at large viewing distances, but the project requires a substantial time commitment.
- Time to complete: 35–60 hours
- Yarn needed: 1,500–3,000g total
- Finished size (worsted, 4mm hook): ~30×37 inches
- Recommended colour count: 14–20
How Grid Size Affects Detail
Here’s a practical illustration. Imagine converting a photo of a cat’s face:
- 40×40: You can tell it’s a cat — ears, eyes, and nose are visible as blocks
- 60×60: The cat is recognisable — fur colour patches and eye colour are distinguishable
- 80×100: Fine details emerge — whisker hints, fur direction, eye sparkle
- 100×120: High detail — individual fur strands, nose texture, detailed eye colour
- 120×150: Maximum detail — near-photographic at viewing distance
Calculating Finished Size
Your finished piece size depends on grid size and your gauge (stitches per inch):
Formula: Finished width = Grid width ÷ Gauge × 1 inch
Example with worsted weight yarn and 4mm hook (gauge ≈ 4 stitches/inch):
- 60 stitches ÷ 4 = 15 inches wide
- 80 stitches ÷ 4 = 20 inches wide
- 100 stitches ÷ 4 = 25 inches wide
For C2C, the formula is slightly different because C2C blocks are slightly larger than single crochet stitches. Expect approximately 3 blocks per inch with worsted yarn.
Time Estimation
A comfortable crocheter completes approximately 1,000–1,500 stitches per hour for photo patterns (which include colour changes). Use this to estimate:
| Grid Size | Total Stitches | Estimated Time |
|---|---|---|
| 40×40 | 1,600 | 1.5–2.5 hours |
| 60×60 | 3,600 | 3–5 hours |
| 80×100 | 8,000 | 6–12 hours |
| 100×120 | 12,000 | 10–18 hours |
| 120×150 | 18,000 | 15–28 hours |
The Sweet Spot Recommendation
For most crocheters, the 80×100 grid with 10–12 colours is the ideal balance of detail, effort, and satisfaction. It’s large enough to create a recognisable, detailed pattern but small enough to complete in 2–3 weeks of evening crocheting.
Browse our Gallery to see what different grid sizes look like in practice — every case study lists its grid dimensions, colour count, and technique.
Frequently Asked Questions
What grid size should I use for my first photo-to-crochet pattern?
Start with a 60×60 grid for your first project. This size is large enough to show recognisable detail but small enough to complete in 8–12 hours. It's the perfect learning size before tackling larger, more detailed patterns.
How does grid size affect pattern detail?
Grid size directly determines resolution. A 60×60 grid has 3,600 pixels (stitches) to represent your photo, while a 120×120 grid has 14,400 — four times the detail. However, larger grids also mean four times the work and yarn.
What grid size do I need for a crochet blanket?
For a lap blanket (40×50 inches), use a 100×120 grid with worsted weight yarn. For a full-size bed blanket (60×80 inches), use 120×150 or larger. The grid size combined with your yarn weight and gauge determines the finished dimensions.
Related Posts
Best Photo Preparation Tips for Crochet Pattern Conversion
Get better crochet patterns from your photos. Learn to crop, adjust lighting, boost contrast, and choose the right photo for stunning results.
ToolsPhoto to Crochet for Beginners: First Pattern Guide
New to photo-to-crochet? This beginner-friendly guide walks you through your first pattern — from choosing a photo to finishing your project.
Try Our Free Crochet Tools
Turn Your Photo Into a Crochet Pattern
Upload any photo and our AI generates a pixel-perfect crochet pattern with real yarn color matching in seconds.
Try AeternaCraft Studio Free →Calculate Yarn for Any Resize
Free amigurumi yarn & resizing calculator. Change hook, switch yarn, or scale a whole pattern — instant results with PDF export.
Open the Calculator →