Best Photo Preparation Tips for Crochet Pattern Conversion
Get better crochet patterns from your photos. Learn to crop, adjust lighting, boost contrast, and choose the right photo for stunning results.
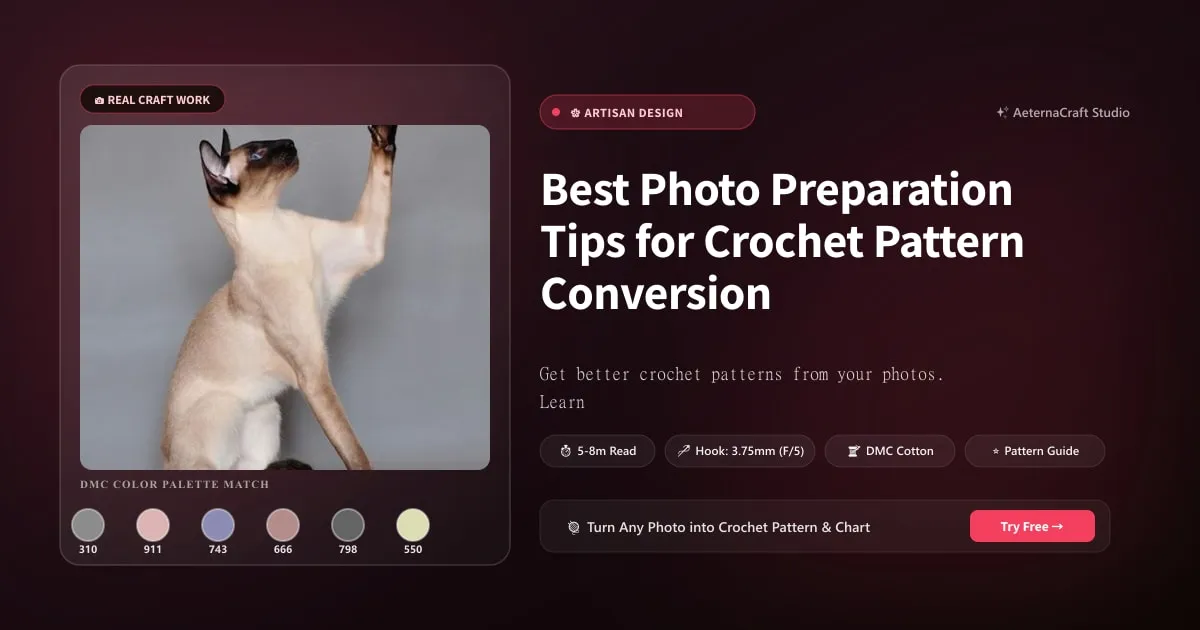
Best Photo Preparation Tips for Crochet Pattern Conversion
The quality of your photo-to-crochet pattern depends heavily on the quality of the source photo. No amount of AI processing can fix a badly chosen, poorly lit, or cluttered image. This guide walks through every step of photo preparation to help you get the best possible crochet pattern.
Why Photo Preparation Matters
When you upload a photo to a crochet pattern generator, the AI must make thousands of decisions about which colours to keep and which to discard. If your photo has a busy background, harsh shadows, or multiple subjects, the AI wastes colour palette slots on unimportant areas — leaving fewer colours for the parts that matter.
A well-prepared photo ensures that every colour in your limited palette contributes to the subject, not the background.
Step 1: Choose the Right Photo
Before any editing, start with the right source image. Look for:
- Clear single subject: One pet, one person, one flower — not a group photo
- Eye-level angle: Photos taken at the subject’s eye level create the most engaging patterns
- Natural lighting: Outdoor daylight or bright indoor lighting reveals true colours
- Subject fills the frame: The subject should occupy at least 60% of the photo
- Sharp focus: Blurry photos produce muddy patterns with indistinct edges
Step 2: Crop Aggressively
Cropping is the single most impactful edit you can make. Every pixel of background in your photo is a pixel that could have been used for your subject.
Cropping guidelines:
- For pet portraits: Crop to head and shoulders — facial features are what make the portrait recognisable
- For landscapes: Crop to the most visually interesting section — don’t include empty sky
- For people: Crop to face and upper torso — full-body shots lose facial detail at typical grid sizes
- For objects: Crop tightly around the object — remove all background clutter
Aspect ratio tip: Match your crop to your finished piece. A square crop for a cushion, a rectangular crop for a blanket, a tall crop for a wall hanging.
Step 3: Fix Lighting Issues
Lighting problems are the most common cause of poor pattern quality:
Harsh Shadows
Shadows create very dark areas that the AI may interpret as separate colours, wasting palette slots. If your photo has harsh shadows:
- Use photo editing software to lift shadow areas
- Increase brightness in dark areas without overexposing highlights
- For future photos: shoot in open shade or during golden hour
Blown-Out Highlights
Overexposed areas lose all detail and appear as white blocks in the pattern:
- Reduce exposure in bright areas
- If using phone photos, tap on the brightest area before taking to balance exposure
- Avoid shooting in direct midday sunlight
Uneven Lighting
If one side of your subject is brighter than the other:
- Use a reflector (even a white piece of paper) to bounce light onto the dark side
- In editing, use a gradient adjustment to balance exposure across the image
Step 4: Boost Contrast (Slightly)
A slight contrast boost helps the AI distinguish between similar colours:
- Increase contrast by 10–15% — just enough to make edges pop
- Don’t overdo it: excessive contrast creates unnatural colour jumps
- For pet portraits, a small clarity/structure adjustment helps define fur texture
Step 5: Simplify the Background
The background is the biggest waste of colour palette in most photos. Three approaches:
Option A: Crop It Out (Best)
If the background isn’t essential, crop it out entirely. This is always the best option — it gives the subject maximum grid resolution.
Option B: Blur It (Good)
If you need some background context, blur it heavily in editing. This reduces the number of distinct colours the AI assigns to background areas.
Option C: Darken It (Acceptable)
Darkening the background creates a natural vignette effect that focuses attention on the subject. The AI will assign fewer colours to the darkened background.
Step 6: Remove Colour Casts
Different light sources create colour casts that distort true colours:
- Indoor lighting often adds a yellow/orange cast
- Shade adds a blue cast
- Use white balance adjustment to neutralise these casts
- The goal is to make whites look white and colours look natural
Photo Preparation Checklist
Before uploading to AeternaCraft Studio, run through this checklist:
- Subject fills at least 60% of the frame
- Subject is in sharp focus
- Lighting is even — no harsh shadows or blown highlights
- Background is cropped, blurred, or darkened
- Contrast is slightly boosted (10–15%)
- White balance is corrected — no colour casts
- Image is at least 500×500 pixels
- Aspect ratio matches intended finished piece
What to Avoid
- Filters: Instagram-style filters distort colours and confuse yarn matching
- Multiple subjects: Group photos create competing focal points
- Busy patterns: Clothing with complex patterns wastes colour palette on the clothing, not the face
- Low resolution: Photos under 300×300 pixels produce blocky, unrecognisable patterns
- Screenshots: Screen captures introduce compression artifacts and moiré patterns
See the Difference
Visit our Gallery to see how well-prepared photos translate into stunning crochet patterns. Every case study includes the original photo and the generated grid, so you can see exactly how good photo preparation translates into pattern quality.
Frequently Asked Questions
How do I prepare a photo for a crochet pattern?
Crop tightly to your subject, ensure even lighting, boost contrast slightly, and simplify the background. These four steps dramatically improve pattern quality by helping the AI focus colour quantisation on the most important parts of the image.
What makes a bad photo for crochet conversion?
Photos with harsh shadows, blown-out highlights, busy backgrounds, multiple subjects, or very low resolution produce poor patterns. The AI struggles to distinguish the subject from the background, resulting in muddy, unrecognisable grids.
Should I edit my photo before uploading to a pattern generator?
Light editing helps — cropping, slight contrast boost, and background simplification. Avoid heavy filters or colour grading, as these distort the true colours that will be mapped to yarn shades.
Related Posts
Choosing the Right Grid Size for Photo-to-Crochet Patterns
Grid size determines detail, difficulty, and project time. Learn to choose between 40×40 and 150×150 stitches for your photo-to-crochet pattern.
ToolsPhoto to Crochet for Beginners: First Pattern Guide
New to photo-to-crochet? This beginner-friendly guide walks you through your first pattern — from choosing a photo to finishing your project.
Try Our Free Crochet Tools
Turn Your Photo Into a Crochet Pattern
Upload any photo and our AI generates a pixel-perfect crochet pattern with real yarn color matching in seconds.
Try AeternaCraft Studio Free →Calculate Yarn for Any Resize
Free amigurumi yarn & resizing calculator. Change hook, switch yarn, or scale a whole pattern — instant results with PDF export.
Open the Calculator →