Photo-to-Crochet Pattern Mistakes: Common Fixes
Avoid the 10 most common photo-to-crochet pattern mistakes. Learn to prevent tension issues, colour confusion, grid miscounts, and finishing errors.
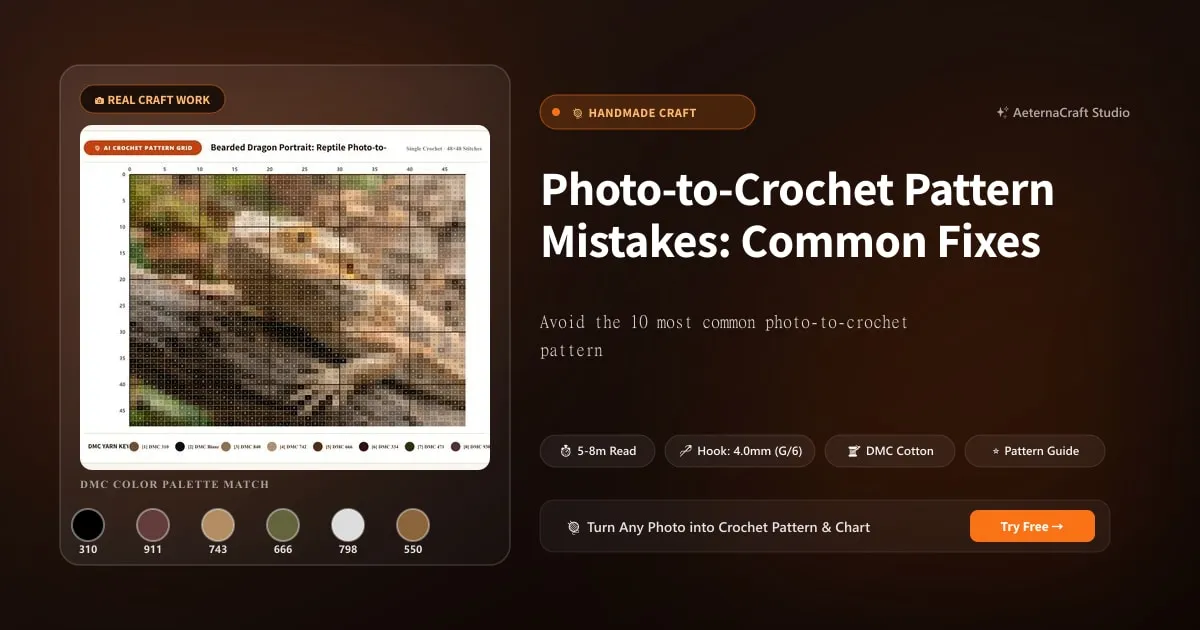
Photo-to-Crochet Pattern Mistakes: Common Errors and How to Fix Them
Every crocheter makes mistakes — especially on photo-to-crochet patterns where you’re managing multiple colours, counting hundreds of stitches per row, and following a complex grid. The difference between a frustrating project and an enjoyable one is knowing how to prevent, identify, and fix these errors.
Mistake 1: Losing Your Place in the Chart
The problem: You put your project down, come back the next day, and can’t remember which row you were on. You guess — and guess wrong.
The fix:
- Always use a row tracker: Highlighter on printed charts, or a digital marker on tablet PDFs
- Place a stitch marker in the first stitch of your current row: When you pick up the project, count from the marker to confirm your position
- Take a photo of your progress: Before putting the project away, snap a photo of the chart with your place marked
Mistake 2: Using the Wrong Colour
The problem: Two similar browns (C4 and C5) get mixed up on your bobbins, and you’ve crocheted 15 stitches with the wrong shade before noticing.
The fix:
- Label every bobbin: Write the colour number (C1, C2, etc.) on a piece of tape and stick it to each bobbin
- Organise bobbins by number: Lay them out in numerical order before starting each row
- If the error is recent: Unravel back 1–2 rows and rework with the correct colour
- If the error is old: Assess visibility — if the two shades are very similar, the error may be invisible in the finished piece
Mistake 3: Inconsistent Tension
The problem: Some rows are tight, others are loose. The finished piece is wavy, distorted, or different sizes in different areas.
The fix:
- Practice before starting: Crochet a 10×10 swatch in your most-used colours to establish consistent tension
- Use C2C: Corner-to-corner is more forgiving of tension variations than single crochet
- Block your finished piece: Soaking and pinning the finished work to shape can correct minor tension inconsistencies
- Check your hook size: If your work is consistently tight, go up a hook size (e.g., 4mm → 4.5mm)
Mistake 4: Miscounting Stitches
The problem: The row should have 80 stitches but you have 76 or 84. The grid is now misaligned, and every subsequent row compounds the error.
The fix:
- Count every row: Don’t skip counting, even if you’re “in the zone”
- Use stitch markers every 20 stitches: Place a marker at stitch 20, 40, 60, and 80. This makes counting faster and catches errors early
- If you’re off by 1–2 stitches: Add or skip a stitch in a background area (where it won’t be noticed) to get back on track
- If you’re off by more than 5: Unravel the row and recount
Mistake 5: Carrying Yarn Too Tightly
The problem: When switching colours, you carry the unused yarn along the back. If you pull it too tight, the front of the work puckers and distorts the image.
The fix:
- Carry loosely: The carried yarn should lie flat against the back without pulling the front stitches together
- Check the front frequently: Flip your work over and look at the front after every colour change. If you see puckering, unravel and redo with looser tension
- Use bobbins instead of carrying: For colour changes more than 10 stitches apart, cut the yarn and use a separate bobbin. This eliminates long carries entirely
Mistake 6: Not Buying Enough Yarn
The problem: You’re 80% done with the pattern and run out of C3 (chocolate brown). The yarn store is out of that dye lot.
The fix:
- Always buy 15% extra: The pattern estimates are based on average tension. Your tension may use more.
- Buy from the same dye lot: Check that all balls of the same colour have matching dye lot numbers
- If you run out: Try to find the same dye lot online. If impossible, buy the closest match and use it in less visible areas of the pattern
- Track your yarn usage: Weigh your remaining yarn periodically. If you’re using more than estimated, buy extra before running out
Mistake 7: Choosing the Wrong Photo
The problem: The finished piece doesn’t look like the subject. The pattern is muddy, unrecognisable, or missing key details.
The fix:
- Choose a clear, high-contrast photo: The subject should stand out from the background
- Crop tightly: Remove background that wastes colour palette and grid resolution
- Test multiple photos: Generate patterns from 2–3 different photos and compare results in Studio before committing
- Use a higher colour count: If the pattern looks muddy, increase from 8 to 12 colours
Mistake 8: Starting Without Testing Gauge
The problem: You assumed your gauge would be 4 stitches per inch, but your actual gauge is 3.5. The finished piece is 15% larger than planned.
The fix:
- Always swatch: Crochet a 4×4 inch swatch with your chosen yarn and hook before starting
- Measure your gauge: Count stitches per inch and compare to the pattern’s assumed gauge
- Adjust hook size if needed: If your gauge is too tight, go up a hook size; too loose, go down
- Recalculate finished size: Multiply your actual gauge by the grid size to get the true finished dimensions
Mistake 9: Skipping the Colour Legend
The problem: You started crocheting from the grid chart without studying the legend first. Now you’re not sure if C3 is the light brown or the dark brown.
The fix:
- Read the legend first: Before starting, match each colour number to its yarn shade and bobbin
- Create a reference card: Write out the colour numbers with their corresponding yarn names and tape it next to your chart
- Verify periodically: Every few rows, double-check that your bobbins are still matched to the correct colour numbers
Mistake 10: Not Blocking the Finished Piece
The problem: The finished crochet piece is wavy, uneven, or smaller/larger than expected. The image looks slightly distorted.
The fix:
- Block every photo-to-crochet piece: Blocking evens out tension, opens up stitches, and makes the image crisp
- How to block: Soak the piece in lukewarm water for 15 minutes, gently squeeze out water (don’t wring), pin to a blocking board at the correct dimensions, and let dry completely
- For C2C pieces: Blocking is especially important — it relaxes the diagonal bias and creates a square, even grid
- For acrylic yarn: Use steam blocking (hold a steam iron 2 inches above the piece) rather than wet blocking
Prevention Checklist
Before starting your next photo-to-crochet project:
- Read the entire colour legend and label all bobbins
- Crochet and measure a gauge swatch
- Set up a row-tracking system (highlighter, ruler, or digital marker)
- Buy 15% extra yarn from the same dye lot
- Choose the right photo (clear, high-contrast, tightly cropped)
- Test the pattern at your chosen settings in Studio before committing
- Plan your working space with enough room for all bobbins
When to Fix vs. When to Accept
Not every mistake needs fixing. Here’s a practical guideline:
Always fix:
- Errors in the subject’s face, eyes, or identifying features
- Stitch count errors that compound over multiple rows
- Colour errors involving high-contrast colours (e.g., black where white should be)
Can usually leave:
- Minor tension variations (blocking will fix these)
- Colour errors in background areas using similar shades
- Single-stitch errors in large, uniform colour sections
Remember: photo-to-crochet patterns are viewed from arm’s length. Minor errors that are invisible from 3 feet away are not worth hours of unravelling and reworking. Focus your perfectionism on the subject’s key features and accept small imperfections elsewhere.
Browse our Gallery to see finished projects — each one has small imperfections that are invisible in the final display. That’s the beauty of handmade craft.
Frequently Asked Questions
What is the most common mistake in photo-to-crochet patterns?
The most common mistake is losing your place in the chart. Without a tracking system (ruler, highlighter, or sticky note), it's easy to skip a row or repeat one, which shifts all subsequent colours out of alignment. Always use a row-tracking method.
How do I fix a colour error in my crochet pattern?
If you notice the error within 1–2 rows, unravel back to the mistake and rework those rows. If the error is deep in the work, assess whether it's visible — small colour errors in background areas are often unnoticeable in the finished piece and not worth unravelling.
Why does my crochet pattern look distorted?
Distortion usually comes from inconsistent tension. If some rows are tighter than others, the grid becomes uneven and the image looks stretched or compressed. Practice maintaining consistent tension, and consider using C2C which is more forgiving of tension variations.
Related Posts
Photo to Crochet for Beginners: First Pattern Guide
New to photo-to-crochet? This beginner-friendly guide walks you through your first pattern — from choosing a photo to finishing your project.
ToolsHow to Read a Crochet Pixel Chart from a Photo Pattern
Learn how to read and follow a crochet pixel chart from a photo. Complete guide to grid notation, colour symbols, and chart-reading tips.
Try Our Free Crochet Tools
Turn Your Photo Into a Crochet Pattern
Upload any photo and our AI generates a pixel-perfect crochet pattern with real yarn color matching in seconds.
Try AeternaCraft Studio Free →Calculate Yarn for Any Resize
Free amigurumi yarn & resizing calculator. Change hook, switch yarn, or scale a whole pattern — instant results with PDF export.
Open the Calculator →