Mastering Colorwork and Steeks: 7 Lessons from a Sweater
Learn all-over colorwork, steeking, and pattern modifications from a challenging sweater project. Tips for fearless knitting.
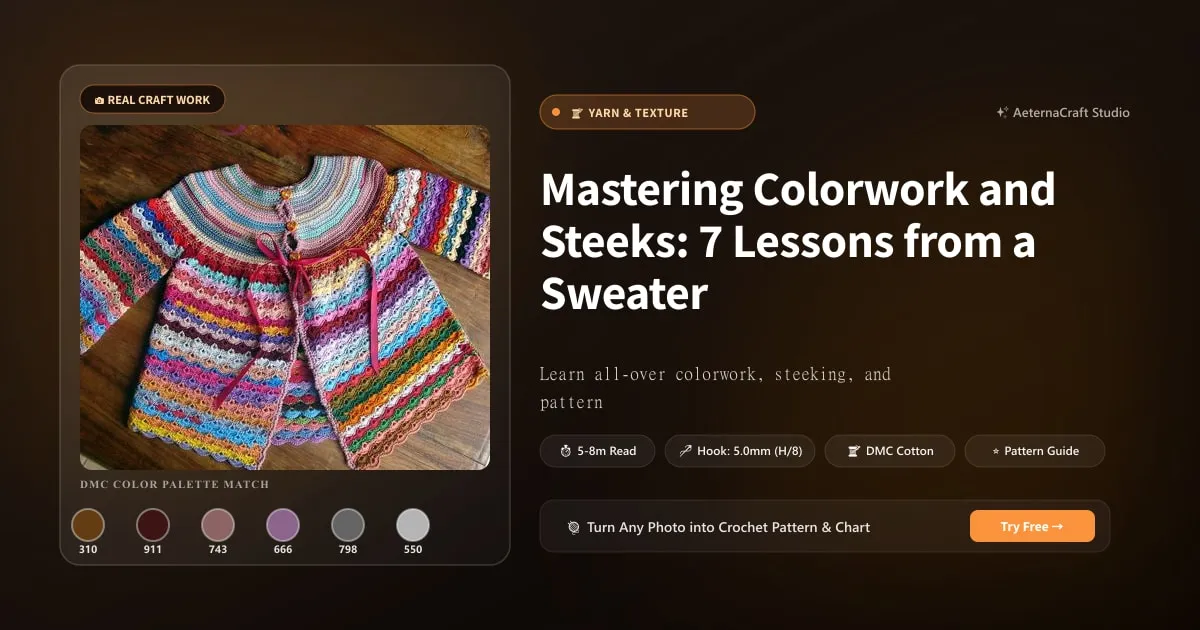
Let’s be honest for a second: colorwork is seductive. It’s shiny, it’s complex, and it makes you feel like a wizard the moment you pull that first round of stranded knitting together. But before you dive into the deep end, you need a plan. I’ve seen too many beautiful garments end up as sad, tangled balls of regret because the planner skipped the pre-game.
Planning Your Colorwork Masterpiece
Choosing a Motif and Color Palette
When I first started tackling all-over colorwork, I chose a motif that looked impressive in a magazine but was essentially a nightmare to track. Don’t make my mistake. Start with what resonates with you. Is it geometry? Fair Isle animals? Abstract stripes? Once you have the motif, the colors matter. You need contrast. Not just “light vs. dark,” but distinct hue separation.
I always grab a color wheel app on my phone when I’m unsure. If you’re using similar tones, your stitch definition will disappear, and that’s frustrating. For the project I’m chatting about today—the one that taught me so much about patience—I chose a palette involving a deep navy and a soft cream. The contrast popped beautifully against the texture of the stitch. Ask yourself: does this combination make my eyes happy? If the answer is no, tweak it. Trust me, you’ll be staring at this thing for hours.
Selecting the Right Yarn for Colorwork
Not all yarns are created equal, especially when you’re carrying those floats across the back. Fiber content is king here. I love using wool or alpaca blends for colorwork because they have some “give.” Acrylic is fine, but it can be slippery and harder to manage tension-wise. Cotton is stiff, which is great for dishcloths but tough for sweaters that need to drape.
For the sweater in question, I used Berroco Vintage DK. It’s a worsted-weight blend of 50% acrylic, 25% alpaca, 20% wool, and 5% polyamide. Why did I pick it? Because the alpaca adds drape, and the wool provides bounce. If you use a bulky yarn, your steeks will be thick and painful. Fingering weight? You’ll be knitting for six months just to get the body done. DK or Worsted is the sweet spot for beginners. And please, swatch! I know, I hate it too. But if your gauge is off by even a quarter-inch, your neck hole might become a keyhole or your arms might turn into sausages.
Reading and Adapting Colorwork Charts
Charts are the map, but sometimes the map needs updating. Reading a chart means understanding symbols. A blank square usually means one stitch, and numbers indicate repeat counts. But here’s the trick: manage your floats. When carrying a color across more than three or four stitches, consider dropping the unused yarn behind your work periodically to prevent tangling. I’ve spent hours untangling knots that could have been avoided by simply breaking the float. It’s embarrassing, but it happens to the best of us.
Conquering Steeks: From Fear to Fearless
Steeks. Just saying the word makes some knitters sweat. It involves cutting your precious, hand-knit fabric. It sounds barbaric, like a Viking ritual gone wrong. But once you master it, you realize it’s the gateway to seamless knitting. No more sewing side seams! No more limiting your pattern choices to top-down or flat-knit designs!
Understanding Steeking Basics
A steek is simply extra stitches added to the middle of your work, which you cut later to create openings for cardigan fronts, armholes, or hood openings. The fear is valid—you don’t want to ruin your garment. But modern reinforcement methods have made this safe. There are different types of steeks: the crochet method, the machine-sewn method, and the hand-sewn method. For the average crafter, the crochet method is often the most forgiving and requires minimal tools.
When I first tried steeking, I cut too early. Disaster ensued. I had to frog three rounds of beautiful colorwork. Now? I reinforce thoroughly before I even think about picking up those scissors. Safety first!
Step-by-Step Steeking Techniques
Here is how you do it without losing your mind. First, knit your steek stitches. Usually, this is five stitches, but check your pattern. Some prefer seven or nine for wider cuts. Next, reinforce them. Using a crochet hook and a matching yarn weight (or a slightly thinner one for neatness), crochet slip stitches down the center of each steek stitch. You want three rows of slip stitching for stability. I use a size 3.5mm hook for this—it’s tight enough to secure but loose enough to move through the loops.
Once reinforced, lay the garment flat. Measure where you want your cut. Use a red marker to draw a line exactly in the center of the steek. Then, grab sharp embroidery scissors. Cut slowly, directly on the line. If you feel resistance, stop. If it looks shaky, reinforce again. It’s okay to go back. Better safe than sorry.
Finishing Steeks Neatly
After cutting, you need to hide the raw edges. Pick up stitches along the cut edge using a crochet hook or knitting needles. I prefer a crochet hook for speed, using a size 4.0mm H/8 hook. Knit a band around the opening—this hides the raw edge and gives the cardigan structure. Weave in ends meticulously. I spend more time weaving in ends on steeks than anywhere else because there are two sides to the cut! It’s tedious, but that clean finish is satisfying.
Modifying Patterns with Confidence
Patterns are suggestions, not commandments. Unless you’re entering a competition where you must follow the designer’s vision to the letter, you are allowed to change things. I modified the sweater I mentioned earlier because the original length was ridiculous for my frame. I shortened it by two inches, and it looked better. Much better.
Assessing What to Change
Before you change anything, assess your needs. Do you need more length in the torso? Less width in the hips? Different sleeve ease? Take your measurements. Compare them to the finished garment dimensions in the pattern. Remember, knitting has stretch, especially in stockinette. If a pattern says 40 inches chest and you are 38 inches, you might still want the 40 for comfort.
Swatching is crucial here. When I altered the ribbing on my project, I changed from 1x1 to 2x2. It took longer, but the edge curled less. Take notes! Write down every change. Your future self will thank you when you try to replicate the fit or explain to a friend why you did it.
Executing Modifications Without Losing Design Integrity
Changing stitch counts can disrupt colorwork repeats. If your pattern has a 10-stitch repeat and you reduce the width, you might break the symmetry. To fix this, adjust the increase/decrease placement or modify the repeat itself. In my case, I shifted the colorwork motif slightly off-center to fit the new width. It required some math, yes, but I used a calculator app and mapped it out on graph paper. It worked! Don’t be afraid to experiment. The beauty of handmade is that it fits you.
Documenting Your Changes for Future Reference
Use Ravelry’s “Project Notes” feature. Write it down. “Shortened body by 2 inches. Changed ribbing to 2x2.” If you share your mod on a forum, others might benefit. It builds community. Plus, if you frog it later (and we all frog eventually), you won’t have to guess what you did differently.
Staying Motivated on Long-Term Projects
Colorwork is marathon knitting. It’s slow. It’s mentally taxing. I’ve had projects sit for weeks because I just didn’t want to look at the chart. Here’s how I stayed going.
Setting Milestones and Rewards
Break the sweater into chunks. “Finish the yoke!” “Complete the left sleeve!” Celebrate those wins. I treat myself to a nice cup of tea and a new book chapter after finishing a major section. Sometimes, a small purchase of fancy buttons serves as a motivator. It sounds simple, but psychology matters.
Managing Project Fatigue
Rotate projects! If you hate the colorwork today, switch to a plain kitchener stitch seam or a simple sock. Audiobooks are my best friend during colorwork. Listening to a gripping mystery keeps my hands busy while my brain is elsewhere. Join a knit-along (KAL) online. Seeing others struggle and succeed makes you feel less alone.
Overcoming Mistakes and Tink
Mistakes happen. I dropped a stitch once, caught it too late, and ended up with a ladder. Instead of crying, I tinked back—knitting backwards stitch by stitch—until I found the error. It took an hour, but it saved the row. Don’t rage-quit. Take a break. Come back with fresh eyes.
Finishing Techniques for a Professional Look
The finish is what separates a hobbyist project from a heirloom piece. Blocking is non-negotiable for colorwork.
Blocking Colorwork Garments
Wet blocking is my go-to. Fill a sink with lukewarm water and a bit of wool wash. Submerge the garment. Let it soak for 20 minutes. Press out the water—don’t wring! Lay it flat on a towel. Pin it to shape. For the Berroco Vintage DK, I used steam blocking lightly at the end to set the stitches, but mostly relied on wet blocking to even out the tension. Colorwork tends to pucker; blocking relaxes those fibers.
Seaming and Weaving in Ends
Use the mattress stitch for side seams. It creates an invisible join. Weave in ends following the path of the yarn for at least 4-6 inches. Trim close, but not too close. For colorwork, weave ends along the float lines so they don’t show through. It takes time, but a messy interior ruins the outside.
Adding Final Details
Pick up stitches evenly for neckbands. I count stitches and skip every other one in dense areas to avoid curling. Bind off loosely! If your bind-off is too tight, your neck will be uncomfortable. Use a larger hook (I used a 5.0mm) for the final bind-off row. Knit ribbing firmly but comfortably.
There you have it. My hard-earned wisdom. Go forth, cut some steeks, and enjoy the process. Happy crafting!
Frequently Asked Questions
What is steeking in knitting?
Steeking is adding extra stitches to the middle of your work, which you cut later to create openings for cardigan fronts, armholes, or hood openings. Modern reinforcement methods like crochet slip stitching make it safe.
How do I choose colors for colorwork knitting?
Use a color wheel app for contrast. You need distinct hue separation, not just light vs. dark. Test your palette on a swatch before committing to a full garment.
How do I fix mistakes in colorwork without frogging everything?
Tink back stitch by stitch (knitting backwards) until you find the error. For dropped stitches caught late, use a crochet hook to ladder up. Take breaks to avoid rage-quitting.
Related Posts
First Sweater: Fix Fit Issues & Conquer Steek Fear
Learn from common first sweater mistakes: tight necklines, skipped swatches, and steeking anxiety. Tips for perfect fit and finishing.
AdvancedExcel to Sweater: Plot Knitting Patterns Like a Pro
Design custom sweaters using Excel—from plotting patterns to flawless execution. Tips for creating unique, personalized knits with grid-based planning.
Try Our Free Crochet Tools
Turn Your Photo Into a Crochet Pattern
Upload any photo and our AI generates a pixel-perfect crochet pattern with real yarn color matching in seconds.
Try AeternaCraft Studio Free →Calculate Yarn for Any Resize
Free amigurumi yarn & resizing calculator. Change hook, switch yarn, or scale a whole pattern — instant results with PDF export.
Open the Calculator →