Crochet a Lily Bag: Free Pattern & 5 Pro Tips
Learn to crochet a stylish lily bag with a free pattern, step-by-step instructions, and expert tips for perfect results every time.
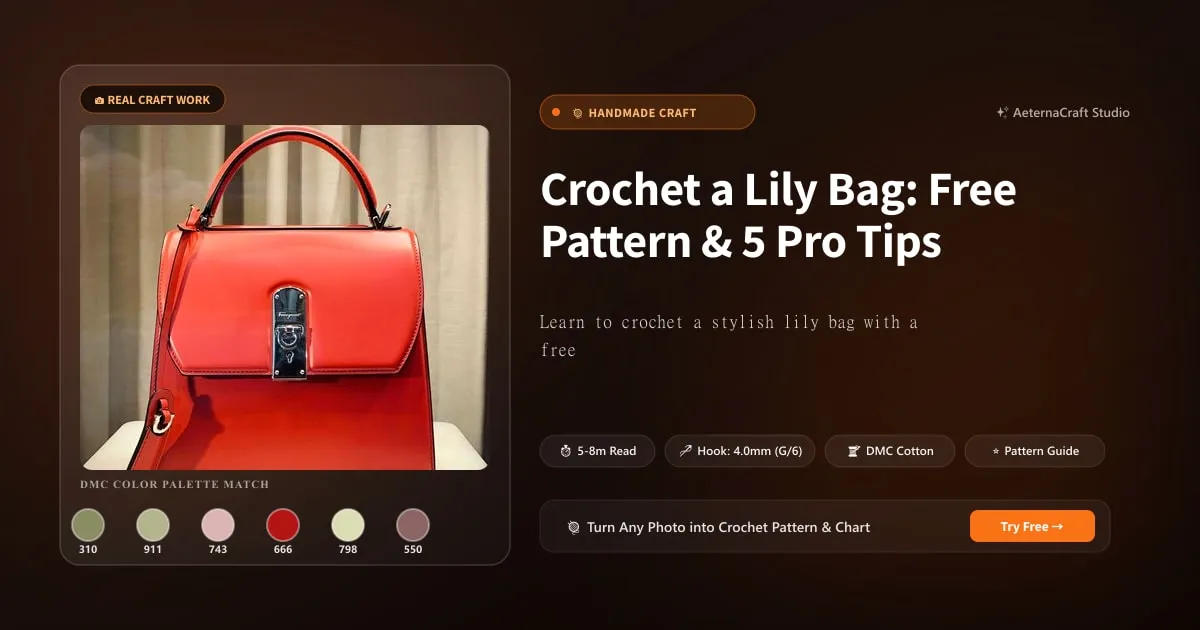
Grab a cup of tea and let’s talk shop. In my twenty years of crocheting, I’ve learned that the difference between a bag that looks like it belongs on a runway in Milan and one that looks like a burlap sack dragged through mud often comes down to three things: yarn quality, hook size, and patience. For a lily bag, we want structure without stiffness. We want it to hold its shape when empty, yet flex enough when you shove your daily essentials inside.
Materials and Tools Needed
First, let’s talk fiber. I love the tactile joy of wool and alpaca, but honestly? They aren’t the best friends for a handbag. Wool scratches, alpaca drapes too much, and neither loves being tossed into a crowded purse where keys might poke through. For a lily bag, I’m sticking to 100% cotton or a high-quality mercerized cotton blend. Cotton has that beautiful crispness and durability. It doesn’t pill easily, it washes well, and it gives you that professional, polished look. If you’re on a budget, a premium acrylic like Lion Brand Vanna’s World works, but don’t go cheap—cheap acrylic feels plasticky and loses its shape after a few weeks.
As for weight, we need worsted weight (Category 4) yarn. Fingering is too fragile for a bag that needs to carry books, and bulky yarn makes for a clunky, heavy tote that hurts your shoulder. Worsted is the sweet spot.
Now, the hook. Most patterns will suggest a 5.0mm (H/8) hook for worsted weight, and I usually agree. However, here is where many beginners trip up: gauge. If you crochet loosely, your bag will be floppy and huge. If you crochet tightly, it’ll be rigid and small. My tip? Grab a 4.0mm (G/6) hook instead. Yes, it will take longer. Yes, your hands might cramp slightly more. But the resulting fabric will be dense, sturdy, and perfectly sized for a lily design. I learned this the hard way years ago when I made a summer tote with a 5.5mm hook; it looked like a laundry bag until I spent two days re-crocheting the entire thing with a smaller hook. Don’t be like me. Be prepared.
Additional Supplies
You’ll need more than just yarn and hook. Here is my essential kit:
- Stitch Markers: Essential. Whether they are locking metal markers or simple safety pins, you need them to mark the start of each round. Nothing ruins a project faster than losing your place in a circular base.
- Tapestry Needle (Blunt Tip): A large eye needle is crucial for weaving in ends cleanly. If you use a sharp needle, you’ll snag your stitches and create weak spots. I keep several sizes on hand, but a US size J/10 (2.0mm) is perfect for cotton.
- Sharp Scissors: I have a pair dedicated solely to yarn. Keeping them sharp ensures clean cuts and prevents fraying when you finish off.
- Optional: Lining Fabric and Magnetic Snap: I cannot stress this enough—add a lining. It protects your items from stray yarn loops, hides imperfect stitches on the inside, and adds structure. A simple magnetic snap closure keeps your stuff secure without the bulk of a zipper.
Step-by-Step Pattern Instructions
This is where the magic happens. The lily bag is named for its petal-like shaping, which is achieved through careful increases and decreases. Let’s break it down, stitch by stitch.
Foundation and Base
We start with a magic ring (also known as a magic circle). It creates a tight center hole with no unsightly knot. Chain 1, then work 6 single crochet (sc) stitches into the ring. Pull the tail to tighten.
Round 1: Increase in every stitch. That’s 12 sc total. Place a marker in the first stitch. Round 2: 2 sc, inc around. (18 sts) Round 3: 3 sc, inc around. (24 sts)
If your base looks like it’s curling up like a potato chip, you’re not increasing enough. If it lies flat but ruffles at the edges, you’re increasing too much. Aim for a flat, sturdy circle of about 3 inches (7.5 cm) in diameter.
Body of the Bag
Once the base is set, we build the walls. For the classic lily look, we use a combination of half double crochet (hdc) for body and shell stitches for texture.
Rows 1-10: Work hdc in each stitch around. This creates a smooth, strong wall. Maintain your stitch count (24 sts). Row 11-15: Switch to shell stitches (5 dc in one stitch, skip 2 sts, sl st in next) to create those lovely petals. This adds volume and visual interest.
When I first tried shell stitches, I was terrified of uneven tension. My shells looked like sad deflated balloons. Then I realized I needed to anchor my last dc firmly before starting the next shell. I started pulling the yarn a bit tighter on the final yarn-over of each shell, and suddenly, they popped with life. Give that a try!
Finishing and Shaping
To create the lily “cup” shape, we begin decreasing. Row 16: Sc, dec around. Row 17: Hdc, dec around. Continue decreasing until you reach about 10 rows, leaving roughly 8-10 stitches at the top.
For the strap, attach a new ball of yarn at one side. Chain 40-50 (depending on desired strap length) and slip stitch into the opposite side. Weave in ends securely. If you’re adding a lining, do so now by sewing a piece of cotton fabric to the inside edges with a whip stitch, leaving a small gap for turning, or sewing it permanently if you prefer not to turn it.
Customization Ideas
One of the best things about crochet is that you are the designer. Why make just one bag when you can make a dozen variations?
Adjusting Size and Shape
Want a mini clutch? Stop increasing after Round 2 of the base and work straight up for 6 rows. It’s adorable and perfect for phones and cards. Craving a beach tote? Double the number of rounds for the base. Instead of stopping at 24 stitches, keep increasing until you have 48 or 60. This widens the footprint. For a bucket hat shape, stop decreasing earlier and work several rows straight after the decrease section to create a cylindrical top.
Adding Embellishments
Don’t be afraid to play. Here are a few ideas:
- Fabric Flowers: Sew on pre-made cotton roses or crocheted flowers in contrasting colors. I once made a beige lily bag and added bright pink silk flowers; it looked bespoke and chic.
- Beads: Thread wooden beads onto your strap before attaching it. It adds a bohemian vibe and sound—rustling beads are oddly satisfying.
- Embroidery: Use a tapestry needle and contrasting thread to embroider monograms or simple geometric shapes on the front panel. It’s slower than crochet, but the personal touch is worth every minute.
Troubleshooting Common Issues
Even experienced crafters hit snags. Here is how to fix the most common lily bag problems.
Twisted or Uneven Stitches
If your bag spirals instead of standing straight, you’re likely working in a spiral rather than joining rounds. While spiral crochet is faster, it can cause twisting in bags. Try joining with a slip stitch at the end of each round to keep the fabric flat. Also, check your tension. Uneven yarn pull causes gaps. Consciously relax your grip on the yarn; anxiety tightens hands, which tightens stitches.
Bag Stretching Out of Shape
This usually happens with soft acrylics or loose tension. The fix? Blocking. Wet your cotton bag thoroughly, gently squeeze out water (don’t wring!), and pin it to shape on a foam mat. Let it dry completely. The fibers will relax and set into a uniform shape. If your bag still stretches, consider interfacing your lining fabric with fusible interfacing for extra body.
Care and Maintenance
Your lily bag is a companion, not a decoration. Treat it right.
Washing and Blocking
Cotton bags can be hand-washed in cool water with mild detergent. Lay flat to dry. Never hang a wet crochet bag; the weight of the water will stretch the stitches out of shape permanently. If you machine wash, use a mesh bag and cold cycle, but expect some shrinkage. Always block after washing to restore dimensions.
Long-Term Storage
Store your bag flat or stuffed with acid-free tissue paper. Stuffing helps maintain the structural integrity of the base and sides. Avoid hanging it by the strap for long periods, as this can distort the handle attachment points. Keep it out of direct sunlight to prevent the cotton from fading or becoming brittle over time.
Happy crocheting! Remember, every mistake is just a learning lesson in disguise. Now, go make something beautiful.
Frequently Asked Questions
What yarn is best for a crochet lily bag?
100% cotton or mercerized cotton in worsted weight (Category 4) is ideal. It provides structure, durability, and a polished look. Avoid wool or alpaca as they scratch and stretch too much.
How do I fix a lily bag that twists or spirals?
Join each round with a slip stitch instead of working in a spiral. Also check your tension — uneven yarn pull causes gaps. Relax your grip on the yarn to keep stitches uniform.
Can I make the lily bag bigger or smaller?
Yes. For a mini clutch, stop increasing after Round 2 of the base and work straight for 6 rows. For a beach tote, double the base rounds until you have 48 or 60 stitches before building the walls.
Related Posts
How to Change Colors in Crochet: 3 Seamless Techniques
Master seamless color changes in crochet with 3 easy techniques. Avoid gaps, tangles, and tension issues for perfect stripes every time.
Beginner7 Easy Crochet Stitches for Beginners: Step-by-Step Guide
Master 7 easy crochet stitches for beginners with step-by-step tutorials. Chain, single, half double, and double crochet with personal tips from a maker.
Try Our Free Crochet Tools
Turn Your Photo Into a Crochet Pattern
Upload any photo and our AI generates a pixel-perfect crochet pattern with real yarn color matching in seconds.
Try AeternaCraft Studio Free →Calculate Yarn for Any Resize
Free amigurumi yarn & resizing calculator. Change hook, switch yarn, or scale a whole pattern — instant results with PDF export.
Open the Calculator →